
Finding Beauty in Your Back Yard
When you think you’ve run out of ideas for great photographs, grab your camera and your favorite lens. If you live in an apartment, observe all the little knick-knacks you’ve collected over the year, things like the window shades and other architectural elements. You’re bound to find something you can tun into a compelling photograph. If you live in a house, take a look in your backyard. If you have a flower garden, you have plenty of fodder for good images. The following images were taken on the lanai of the home I live in. Observe. Imagine. Create.
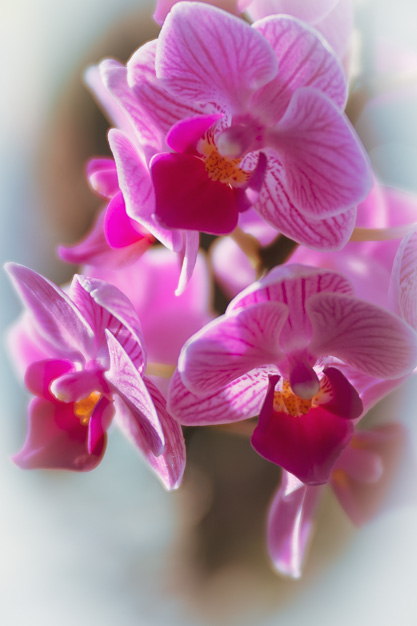
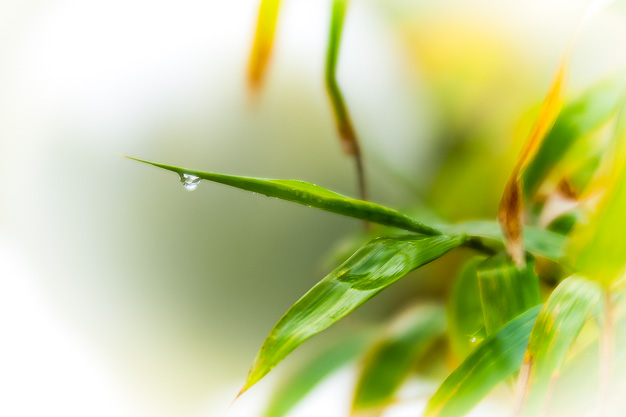
Shooting with the Sol 45 and Trio 28 in Bright Light
I’ve been a Lensbaby shooter since 2005. Two of my favorite Lensbaby products are the Sol 45, and the Trio 28. They both have a fixed aperture of f/3.5.
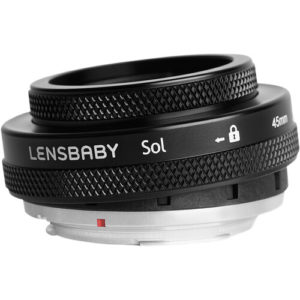
The Sol 45 is a 45 mm tilt-shift lens. Tilt the lens to shift the focus to the desired part of the frame. The Sol 45 also has bokeh blades that are used to change the look of out-of-focus parts of your image. For micro 4/3rds cameras, Lensbaby makes a Sol 22, which is a 22mm tilt shift lens.
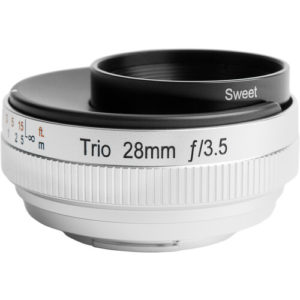
The Trio 28 is my favorite all-in-one Lensbaby. It has a 28mm focal length, with three distinct looks: Sweet (an optic creates a sharp central sweet spot of focus surrounded by gradually increasing blur), Velvet (an optic that has a sharp yet dreamy central area of focus with delicate glow from edge-to-edge), and Twist (a Petzval inspired optic design, gives you a large sharp central area of focus surrounded by twisty, swirling bokeh).
Both lenses are great unless you’re shooting in bright light. Images you try to create in bright light will be overexposed even at your lowest ISO setting. The solution is a neutral density filter. Both lenses have 46mm front filter threads. Use a neutral density filter to reduce the amount of light that reaches the sensor. I use a variable neutral density filter to dial in the desired shutter speed for the image I want to create.
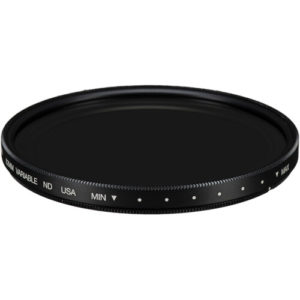
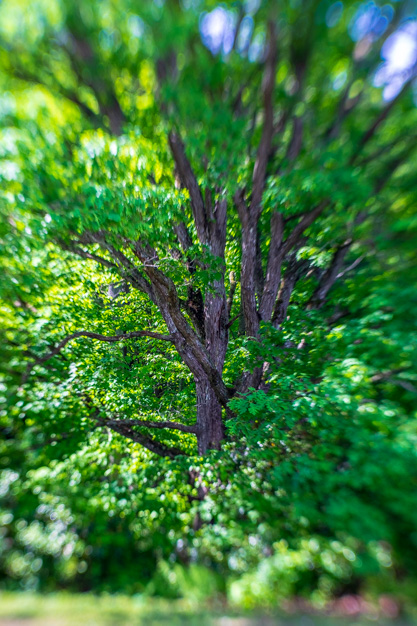
The following image was created with a Sol 45 in bright afternoon sunlight. I used a 46mm variable neutral density filter to reduce the amount of light reaching the sensor, which gave me a properly exposed image.
Video created with my iPhone during our 2021 September vacation out west.
Color or Black and White
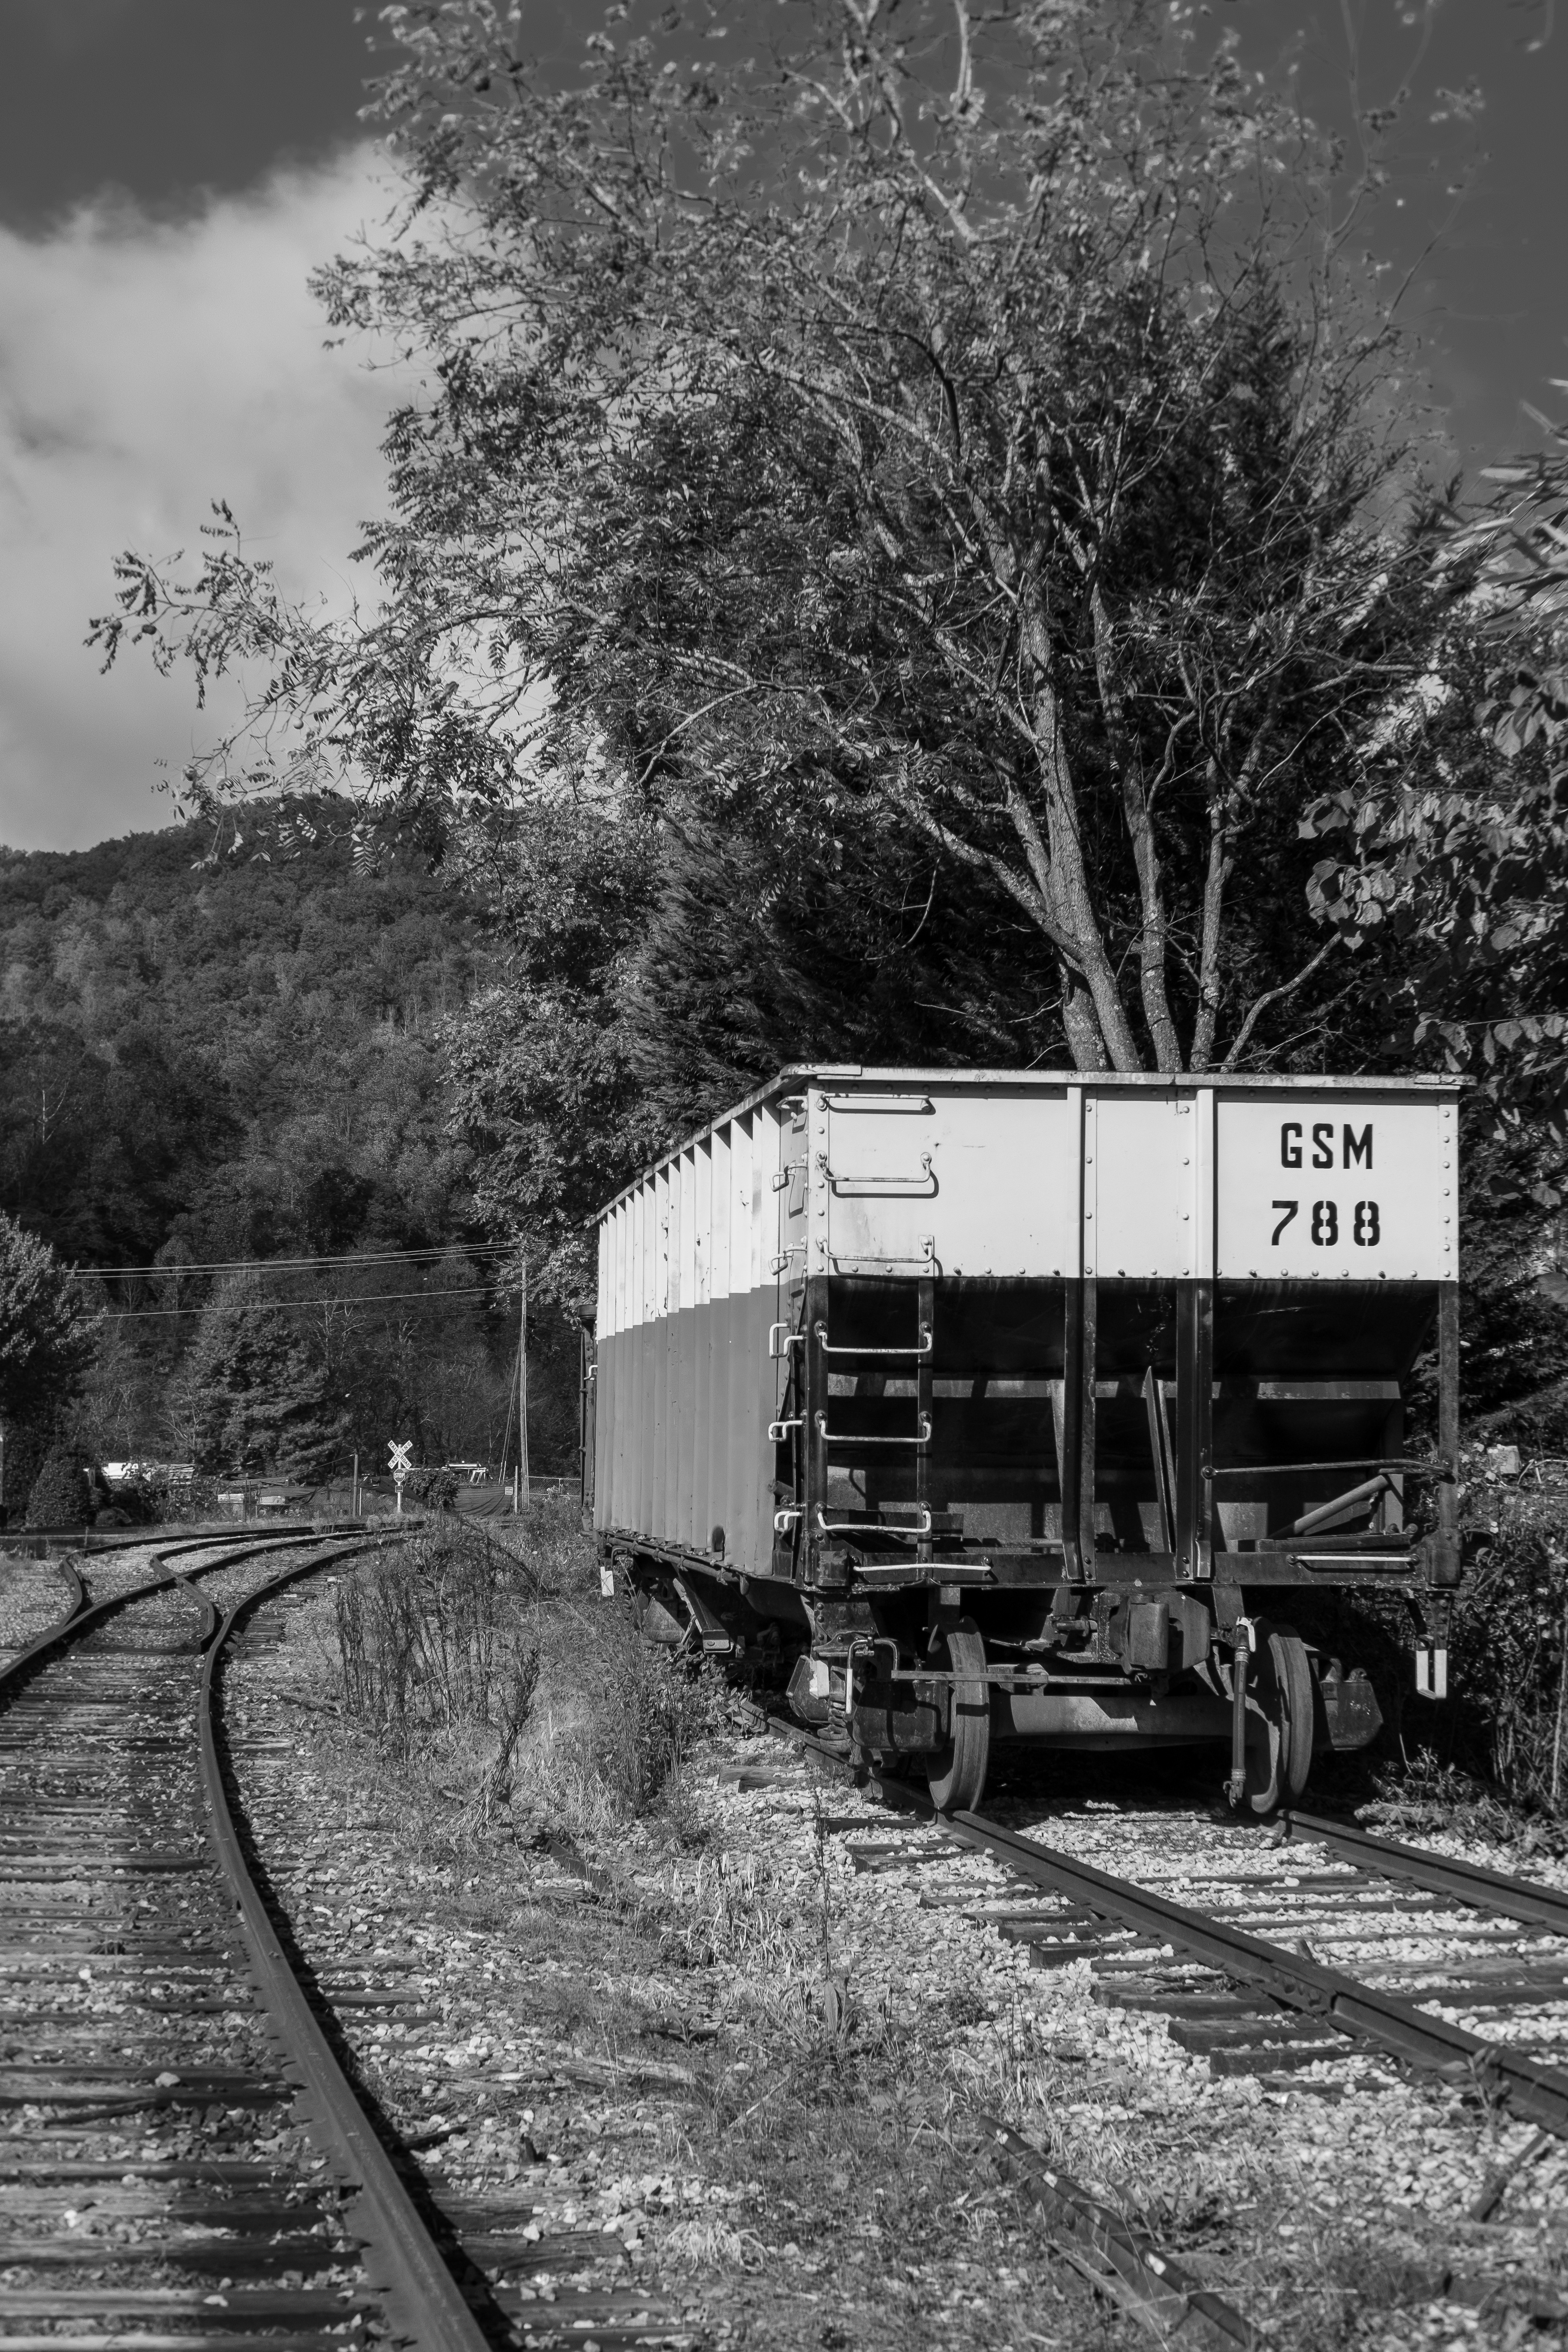
When I review images in Lightroom after a photo shoot, I often come across a candidate for conversion to black and white (grayscale for you purists). After all, photographs were black and white until color film was invented in 1907. The first thing I do in the Develop module when I see an image with strong contrast is press V. This converts the image to black and white and the HSL/Color panel becomes the B&W panel.
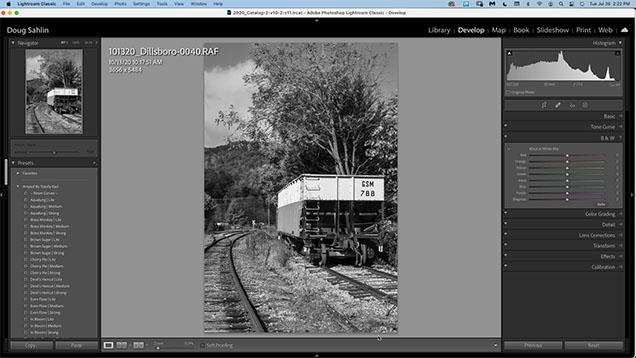
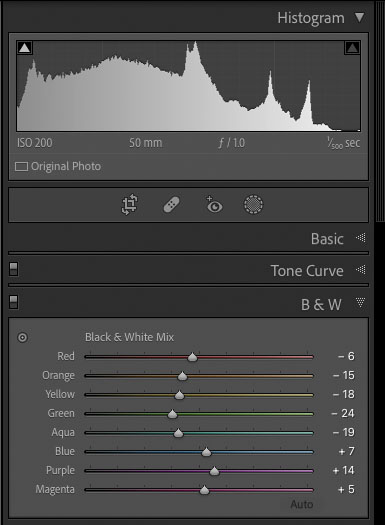
Then I click Auto in the B&W panel. Lightroom optimizes the settings based on the color data in the original image. That’s right, your black and white conversion still contains color data. I prefer a dark sky when I convert landscape images to black and white, so I click the TAT (Targeted Adjustment Tool) in the upper left corner of the panel, and drag down in the sky until what I see is what I like.
The following image was exported from Lightroom after conversion.
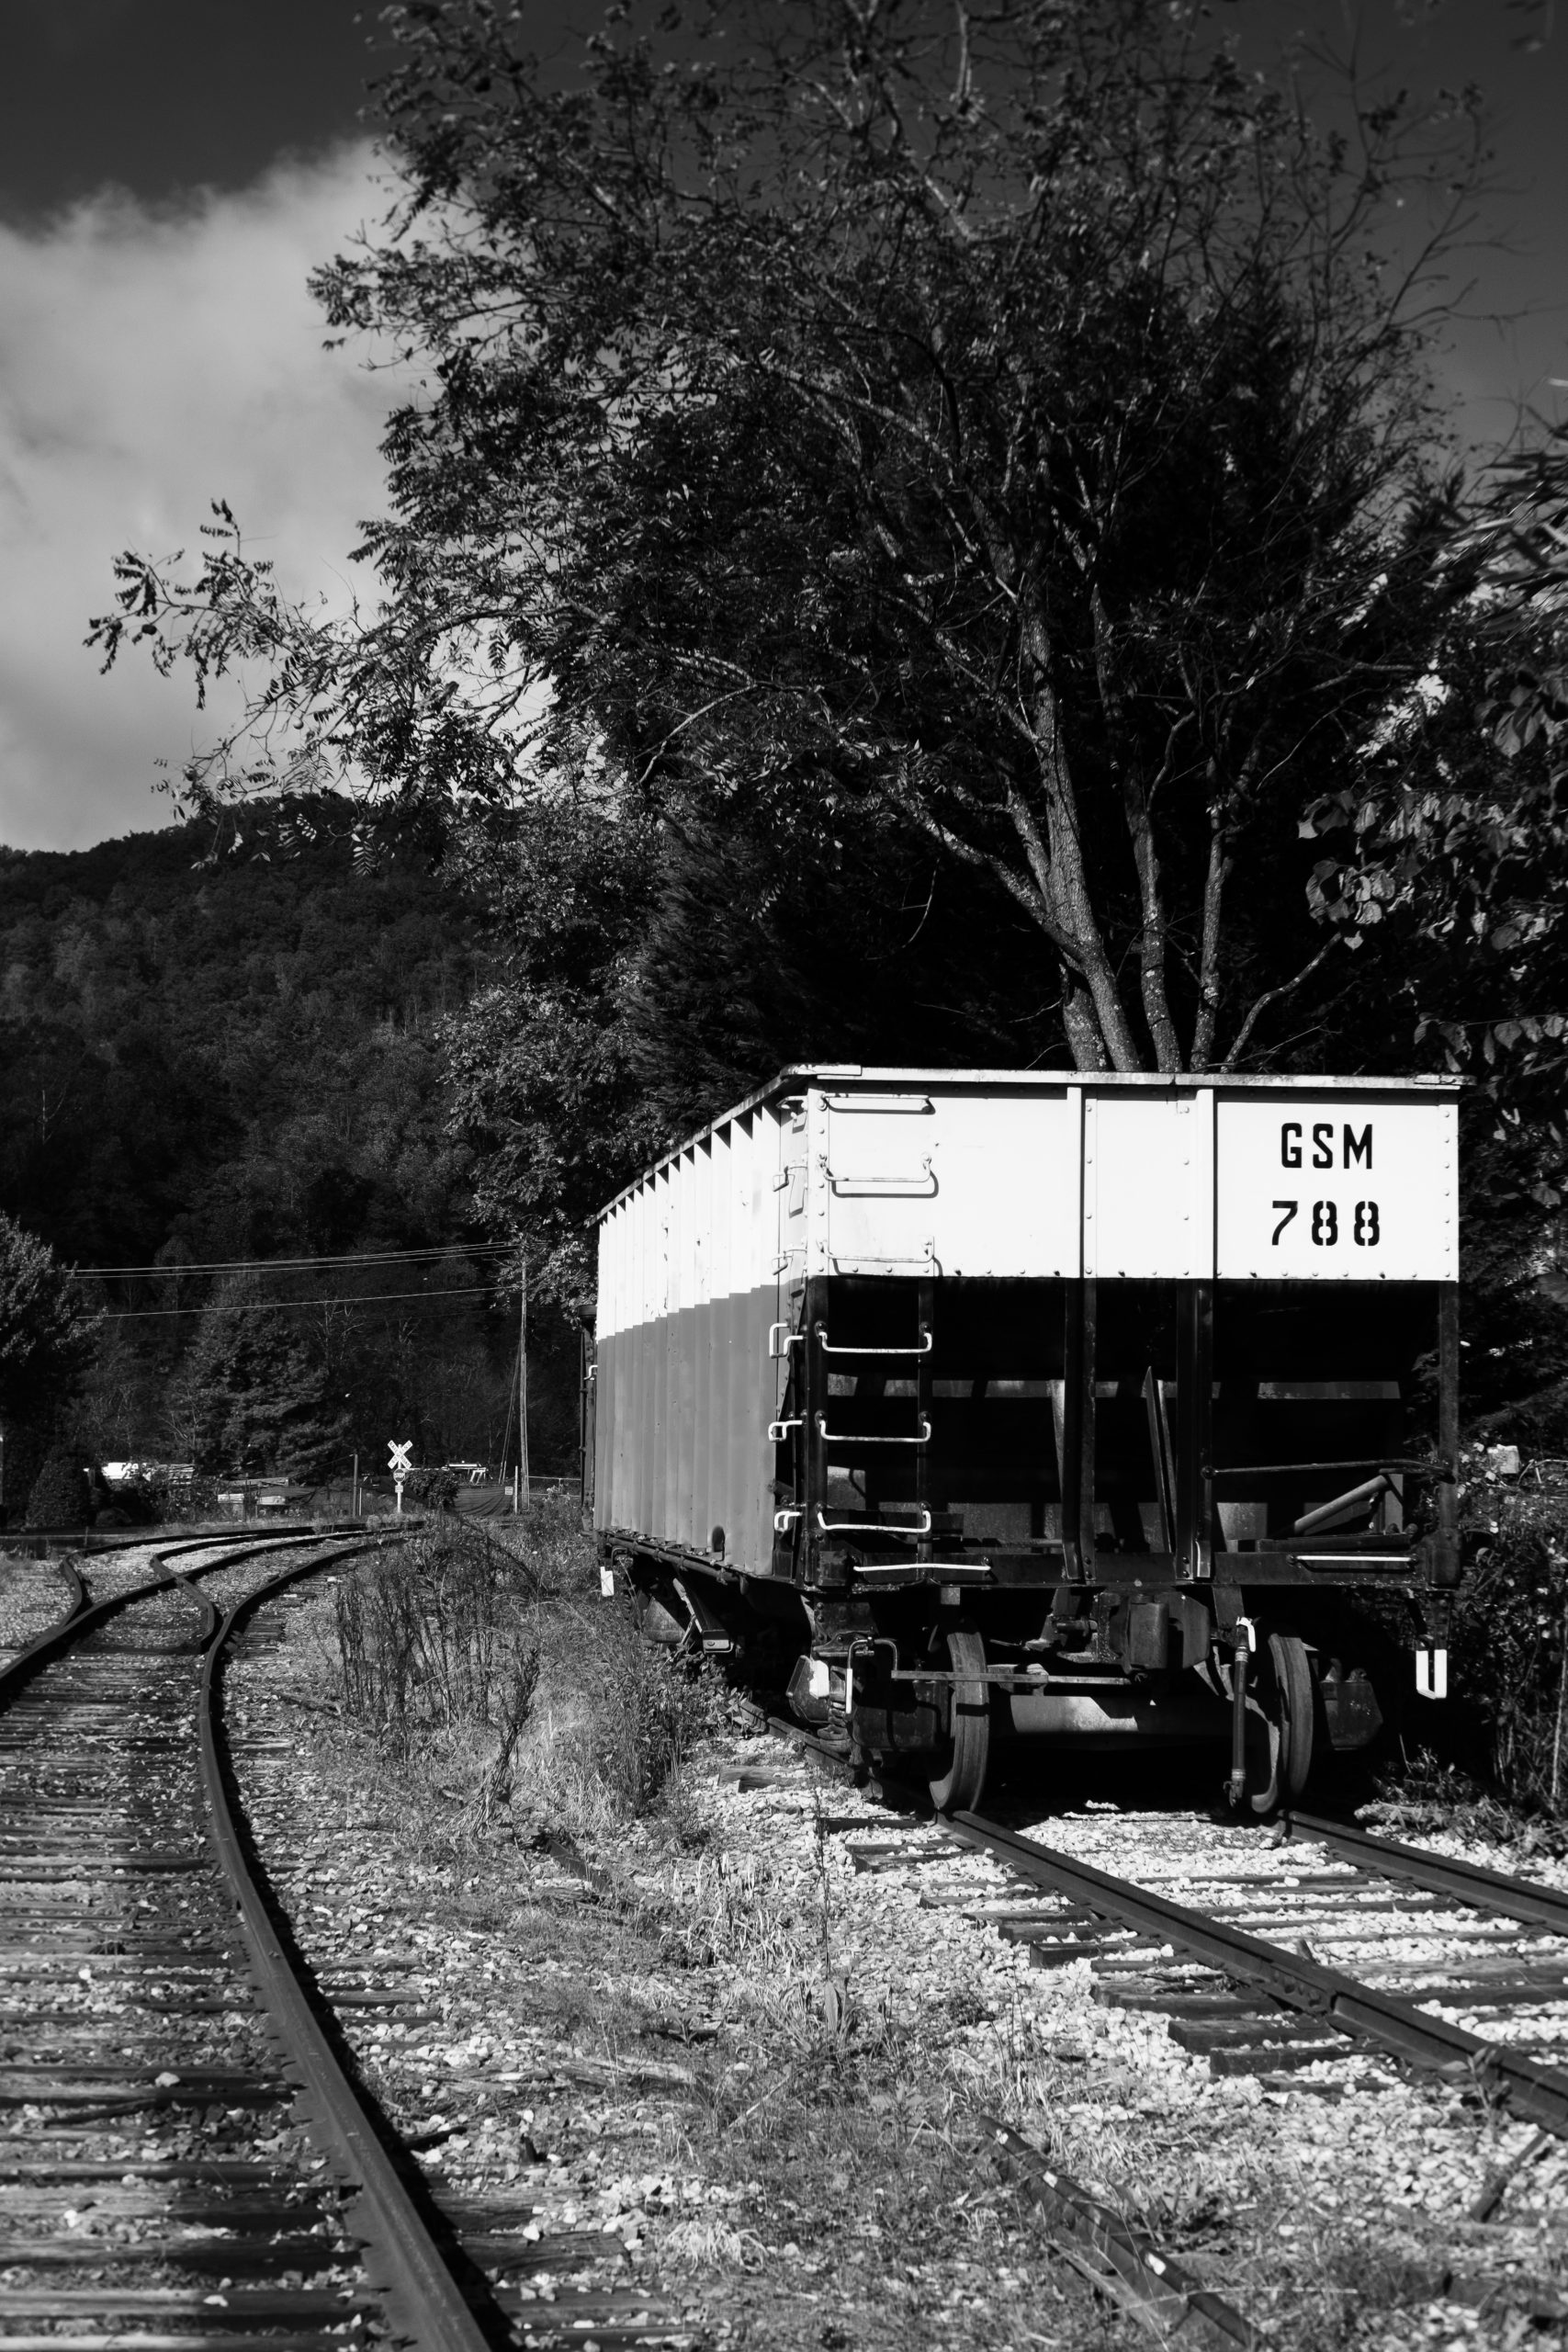
But wait, there’s more. For a really punchy black and white image, I use Silver Efex Pro 3, which is part of the DXO Nik Collection. The software offers more options and a ton of presets.
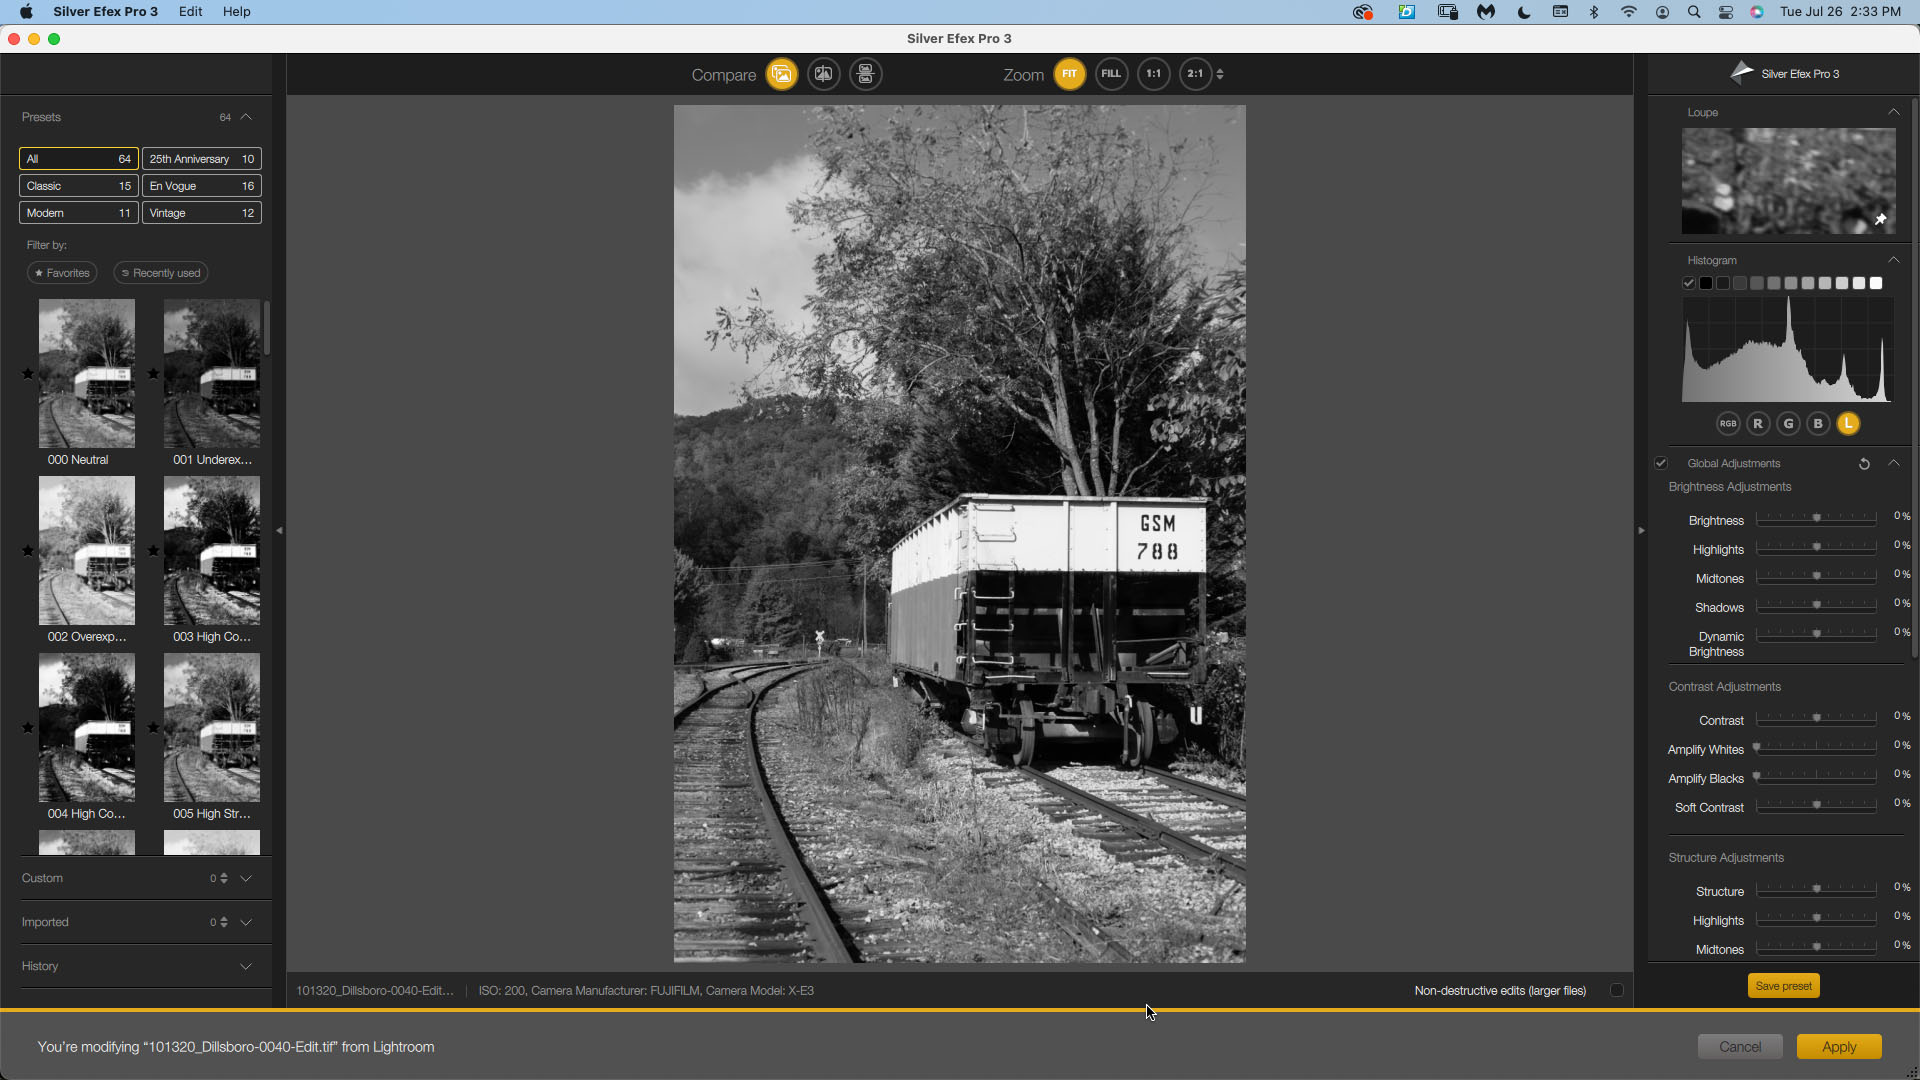
The following image is the one I converted in Silver Efex Pro 3. A trail version of the Nik Collection can be downloaded from DXO’s website: Nik Collection.
A Tale of Two Images
When I travel, I always take a camera with me. In October René and I are traveling to India. I’ll be shooting lots of pictures. The biggest problem will be deciding which lenses to take. But that’s a different kettle of fish. What I’m looking for is a way to share images and to post to social media while I’m on the road. I’ll have my laptop with me. I’ll be able to edit and post at night when we’re back at the motel. But after a day of travel, and a good meal, editing images will be the furthest thing from my mind.
Recently I enjoyed a wonderful dinner at a seaside restaurant. The clouds were beautiful. It looked like we’d be rewarded with a wonderful sunset for dessert. I shoot with a Fuji camera that has built in Wi-Fi. As long as I shoot in JPG/RAW format (the camera captures an image in each format every time I press the shutter button), I can transfer images from my camera to my iPhone thanks to an application called Cam Remote which can be downloaded for Android or IOS operating systems. If your camera has built-in WI-Fi, you may be able to transfer images from your camera to your phone.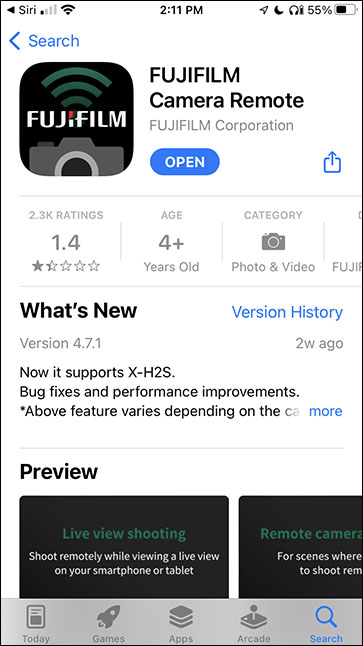
I can also edit images on my phone thanks to an app called SnapSeed.
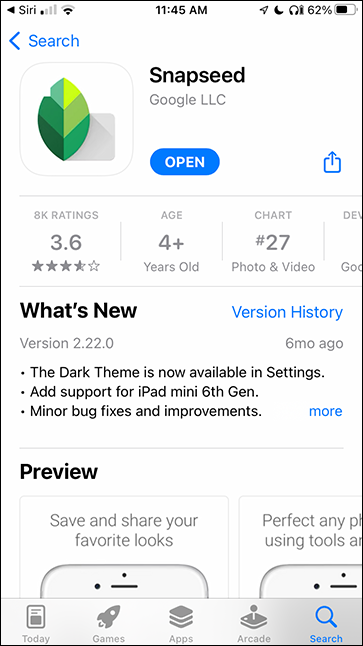
After editing an image, I can share it to social media such as Twitter or Facebook. Here is an image in the SnapSeed app. The app provides you with a plethora of options for creating a compelling image.
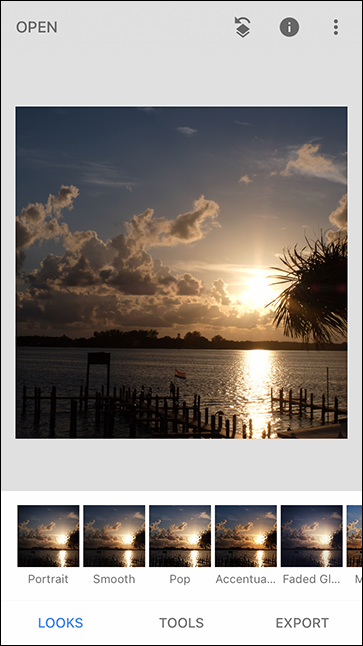
This is the finished image, exported from SnapSeed to Facebook. 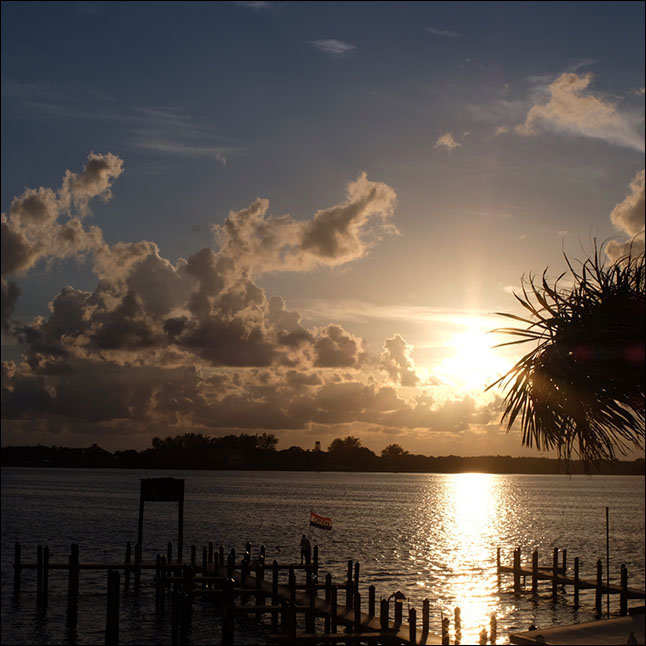
The following image shows the version I edited in Lightroom.
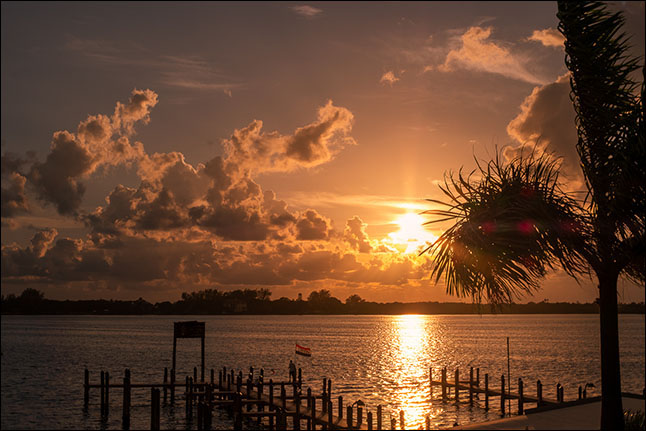
You have more options for creating a stellar image in Lightroom, but SnapSeed is the Bees Knees when you need to quickly edit an image and post it to Facebook.
Resizing Images for Instagram
Instagram has a 5 to 4 aspect ratio. Digital cameras produce images with 3 to 2 aspect ratio. When you post an image to Instagram, it is cropped to the 5 to 4 aspect ratio and part of the image will disappear, unless you follow the steps in the following video.
Recent Comments