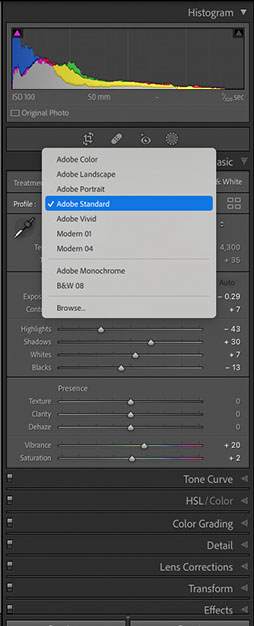
But wait, there’s more. Click the Browse button to open the Profile Browser shown next.
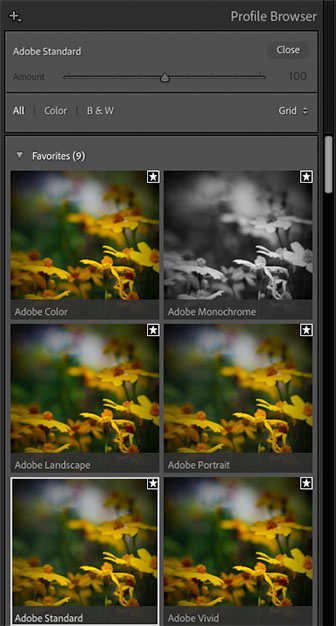
Run your mouse over a profile you like and your image updates to show you what that profile looks like on your image. Click the profile to apply it to your image. There are lots of profiles. Use the Amount slider below the profile to determine the amount applied to the image. Drag the slider left to apply less of the profile (which shows more of the original profile,) or right to apply more of the profile. Use the scroll bar to view all of the profiles. After applying a profile to your image, a star appears. Click the star and the profile is added to the drop down list as a favorite.
The following image shows four profiles as applied to an image of wildflowers. The upper left profile is Adobe Landscape, the upper right profile is Adobe Vivid, the lower left profile is Adobe Artistic 04, and the lower right profile is Adobe Vintage 03. If the camera you captured the image with has profiles, those will be in the Profile Browser as well.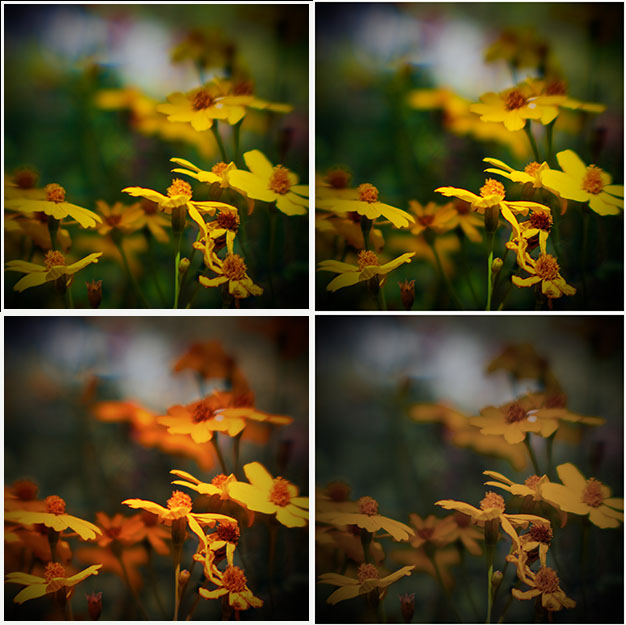
A trip into the Profile Browser is always my last step when processing an image. Try it. You’ll like it.
Doug writes detailed instructions for how you may access this in Lightroom.
I’ve used Lightroom for years & never knew this was an option. Tried it for the first time today & it was easy to do! I’ll definitely add this to my workflow.