
Rainy Day Photography
It’s your day off. Your plan was to spend the afternoon photographing landscapes and wildlife in a state park. But Mother Nature rains on your parade. Literally. When that happens you need to drop back ten and punt, or you need a good Plan B.
Best Plan B I know of is to grab your camera and favorite lens, and photograph the stuff in your house. Photograph knick-knacks, the flowers you bought for your significant other, your significant other, your pet… The possibilities are endless. So the next time Mother Nature rains on your parade, shoot anyway. The following images are examples of stuff you can photograph on a rainy day.
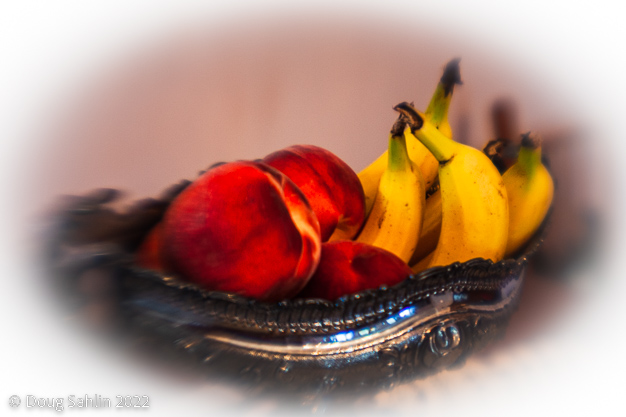

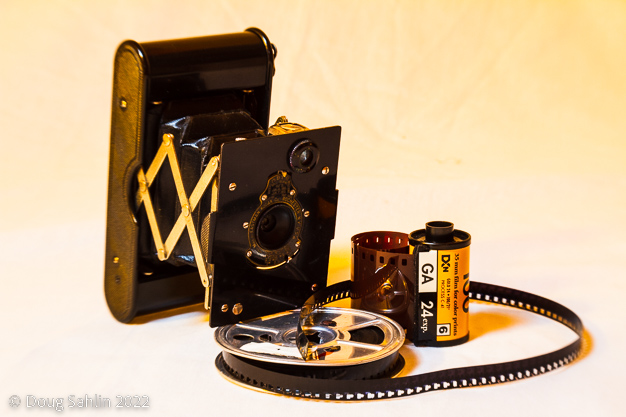
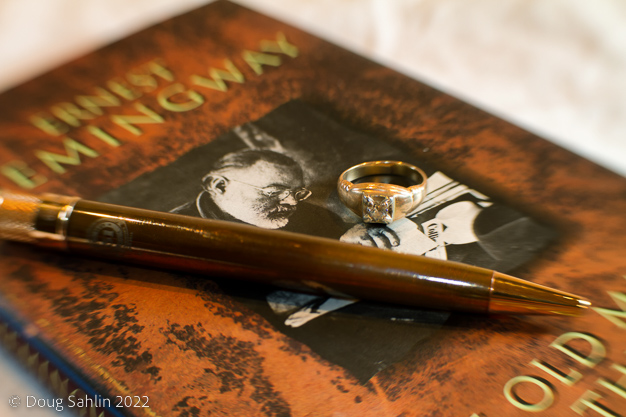
Learn From Your Mistakes
Photography is an art form. When you create wonderful images, photography is very rewarding. It can also be frustrating. Henri Cartier-Bresson said, “Your first 10,000 photos are your worst.” That wisdom implies there is a learning curve to photography. There is.
The first thing you have to do is: Transcend Technology. Know what all the buttons and dials on your camera are used for. Know what settings are required to capture a great image. Practice is part of your first 10.000 photographs. You’ll make plenty of mistakes. You’ll choose the wrong mode, the wrong lens, the wrong shutter speed and so on.
Transcending technology takes a while. Shoot lots of images. Then shoot some more. Review your images and you’ll know which ones are keepers. But cast a keen eye on your duds and try to figure out why the images don’t pass muster. When you review your images, look at them with a critical eye and try to figure out what you did wrong. You can review images in your camera, but I advise you to review your images after you download them to your computer. A large monitor gives you a better idea of whether or not your image is a keeper.
Thomas Edison is famous for inventing the light bulb. It took him a long time to create a working light bulb. But the ones that didn’t work weren’t failures. They were learning experiences. Persistence pays. Edison said, “I have not failed 10,000 times—I’ve successfully found 10,000 ways that will not work.” And then he found the way that did work.
The moral is to make lots of mistakes. If you’re not making mistakes, you’re not shooting. Learn from your mistakes.
Processing Landscapes in Adobe Lightroom Classic
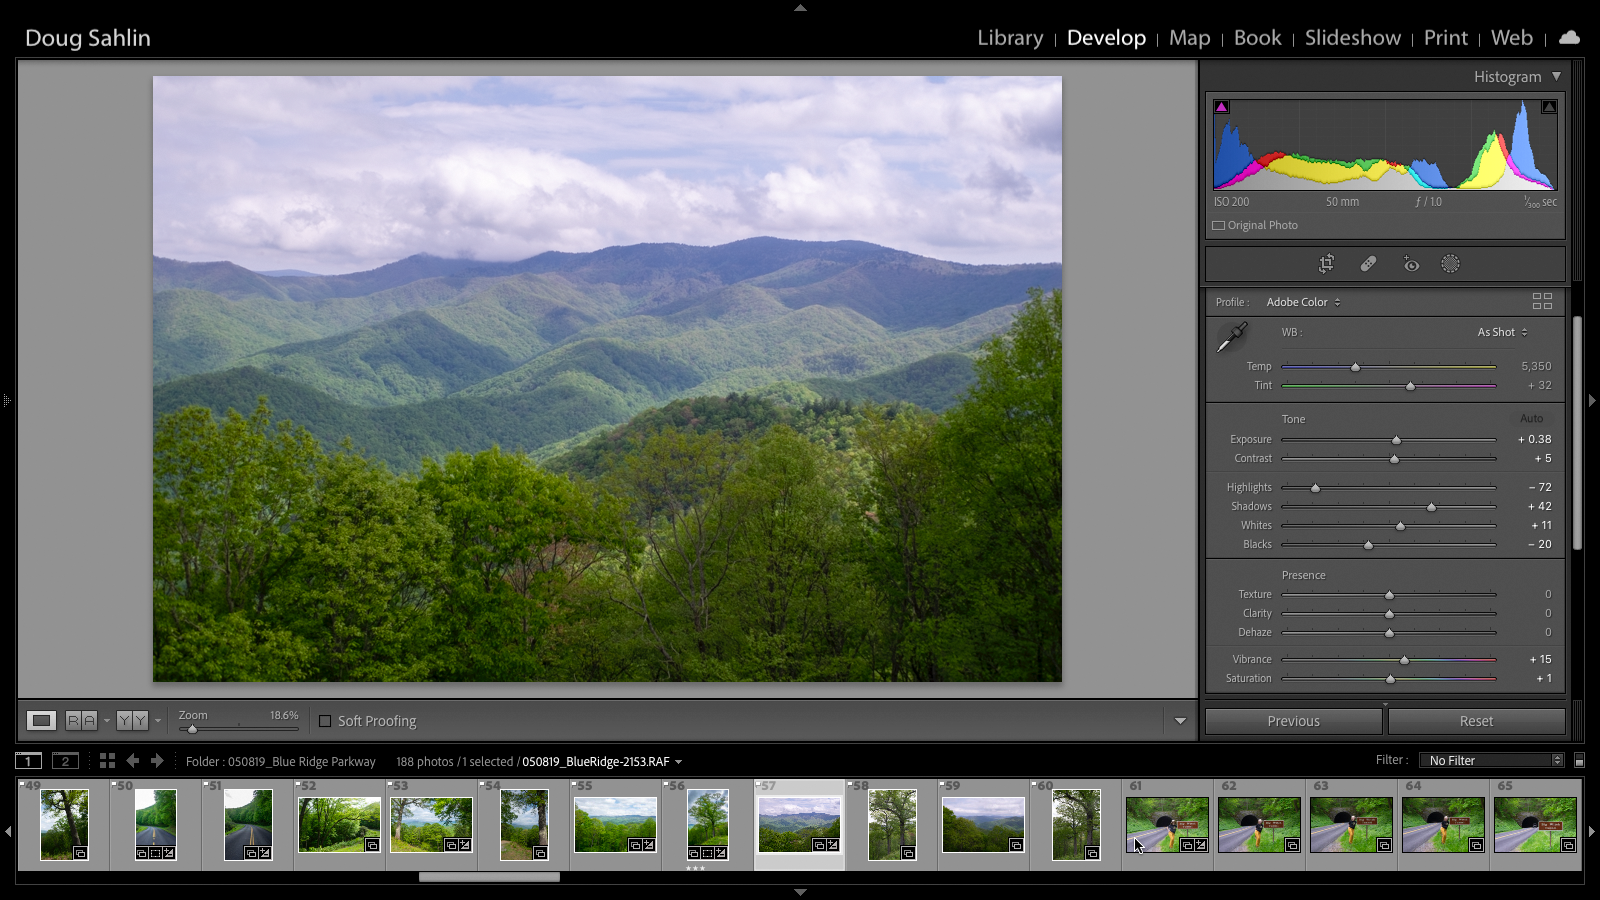
1. In the Basic panel of the Develop module, click the Auto button.
Lightroom applies settings that often hit the nail right on the head and produce a great image. Sometimes, not so much.
2. Tweak the settings.
You know what was in front of you when you captured the image. Tweak the settings until the image looks like what you saw through the viewfinder. With this image, I lowered the Exposure. Lightroom often increases the exposure too much.
3. Adjust the sky.
When you capture an image, your camera adjusts all tonal ranges. But the sky is often overexposed. To adjust the sky, you first need to select it.
4. To select the sky, click the Masking button (the 4th button below the Histogram).
A drop-down menu appears showing you masking options.
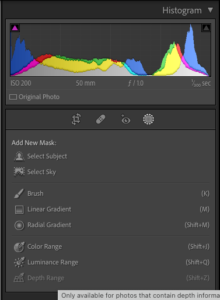
5. Click Linear Gradient.
A linear gradient applies changes to the area selected, the greatest changes at the top gradually tapering off to zero at the bottom of the selection.
6. Hold the Shift key while dragging the tool from the top of the sky to the bottom.
Holding down the Shift key keeps the tool parallel to the top of the image.
7. Release the tool, then release the Shift key.
Lightroom applies a mask to the sky. The mask is designated by a red overlay.
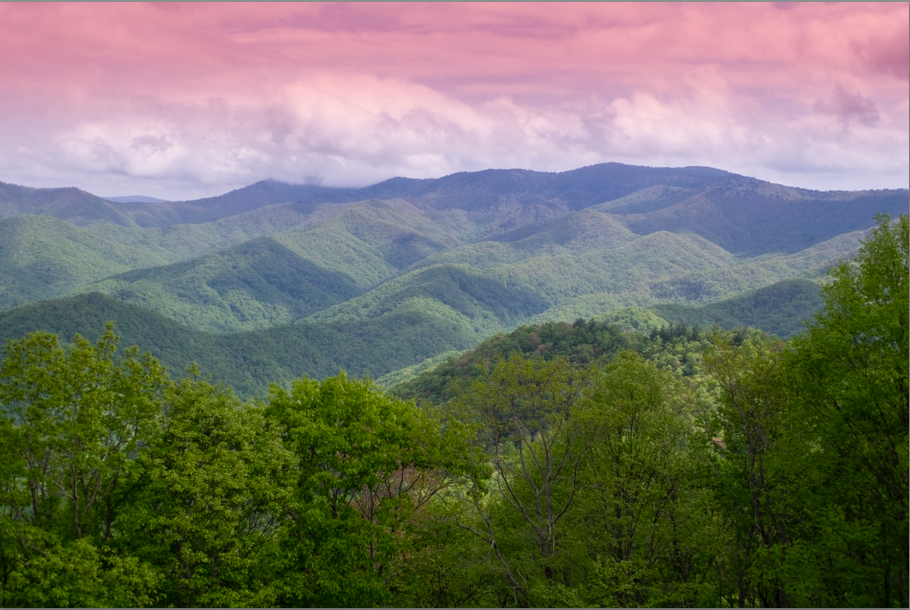
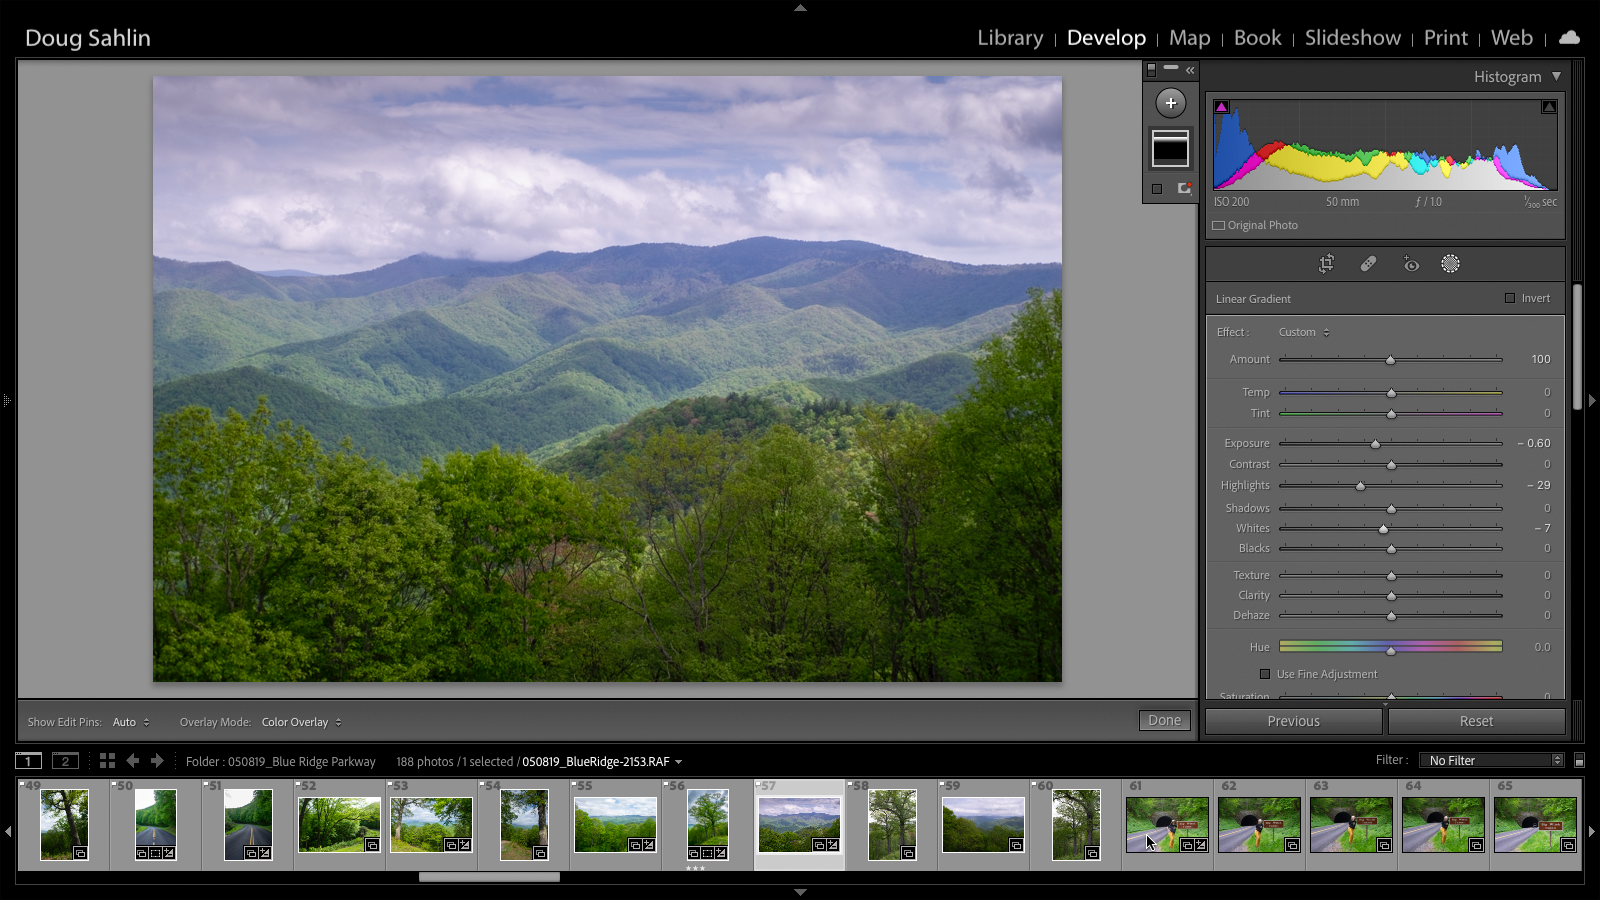
8. Decrease the Exposure.
A little goes a long way. Your goal is to darken the top of the sky.
9. If the sky has clouds, decrease the Highlights and Whites settings.
This makes the clouds pop.
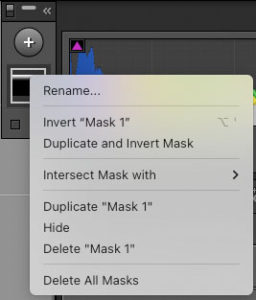
At this stage, the foreground may need tweaking. In this case, I want to darken the foreground slightly, so I right-click the linear gradient, and choose Duplicate and Invert Mask from the pop-up menu. You could do the same thing if you selected the sky.
10. To make the foreground pop, I decrease the Exposure slightly, and increase the Shadow value.
- Remember: When you create a mask, any change you perform is applied to the masked section only.
11. Click Done.
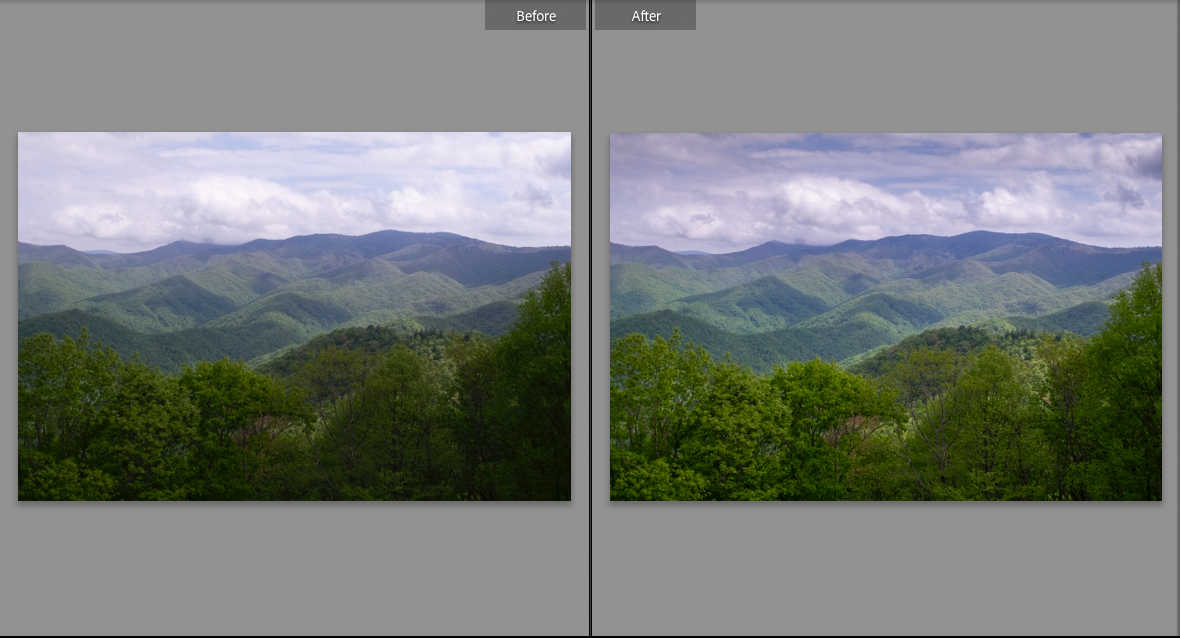
The adjustments you made to the masked areas are applied to the image. The adjustments I made to this image, makes the sky look more realistic, and there’s more detail to the trees in the foreground.
12. In the HSL panel, click Luminance, then click the Targeted Adjustment Tool (it’s the small concentric circle in the upper left corner of the panel).
After you click the tool, it sprouts an up and down arrow. Drag the tool inside the image to adjust a tonal value.
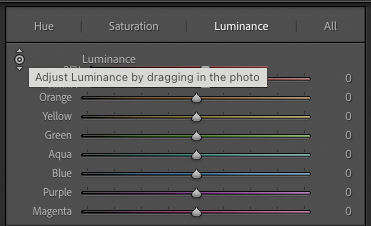
13. Click the Targeted Adjustment Tool (affectionately known as TAT) inside the blue part of the sky and drag down.
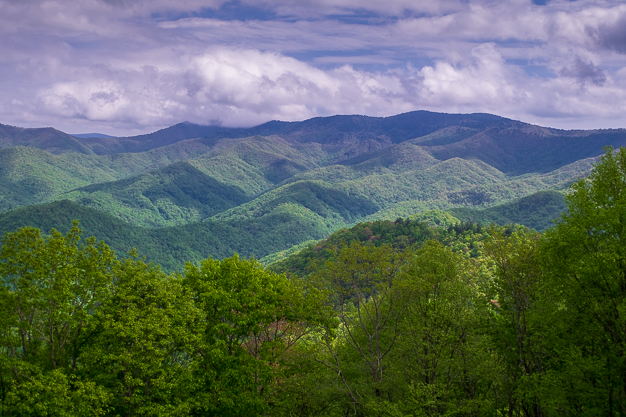
This decreases the luminance of blue colors in the image, effectively darkening the sky.At this stage you could export the image, of choose a different profile to suit the image. In this case, I chose Adobe Landscape. The finished image definitely looks like the scene I photographed.
To learn more about Profiles, read this blog post: Adobe Lightroom Profiles
Adobe Lightroom Profiles
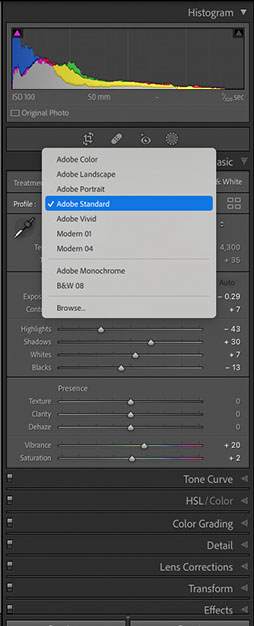
But wait, there’s more. Click the Browse button to open the Profile Browser shown next.
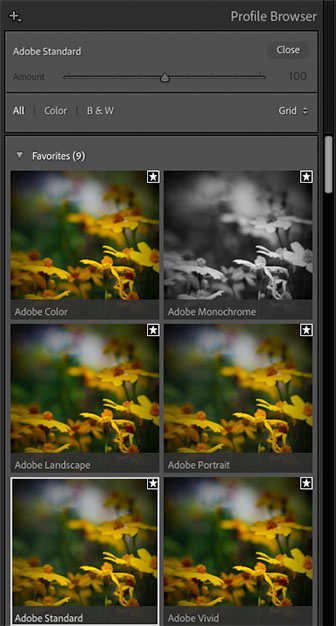
Run your mouse over a profile you like and your image updates to show you what that profile looks like on your image. Click the profile to apply it to your image. There are lots of profiles. Use the Amount slider below the profile to determine the amount applied to the image. Drag the slider left to apply less of the profile (which shows more of the original profile,) or right to apply more of the profile. Use the scroll bar to view all of the profiles. After applying a profile to your image, a star appears. Click the star and the profile is added to the drop down list as a favorite.
The following image shows four profiles as applied to an image of wildflowers. The upper left profile is Adobe Landscape, the upper right profile is Adobe Vivid, the lower left profile is Adobe Artistic 04, and the lower right profile is Adobe Vintage 03. If the camera you captured the image with has profiles, those will be in the Profile Browser as well.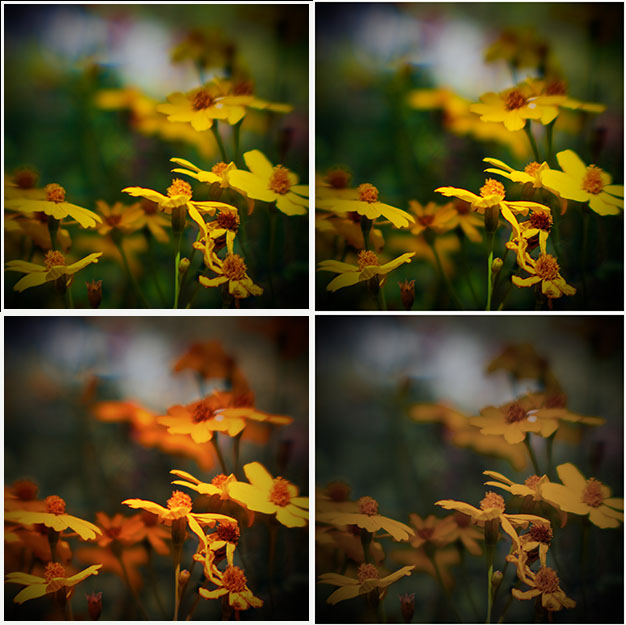
A trip into the Profile Browser is always my last step when processing an image. Try it. You’ll like it.
My Favorite Photography Books
As a photographer, I get inspiration from other photographers. Gazing at images created by master photographers is inspirational. In addition to looking at images, also read books about photography. And they are written by some of my favorite photographers. The following is a list of my favorites:
 The Moment It Clicks: Photography Secrets from One of the World’s Top Shooters
Joe McNally
I met Joe McNally at Photoshop World in 2010. He had a great presentation about lighting techniques. His book is chock full of tips and tricks about photography. This is a coffee table book with stunning images and information about how he created the photographs.
Within the Frame
 David duChemin
This is another book full of compelling images created by a master photographer. David insists that it’s not about the gear you have, it’s about vision, stopping when something piques your curiosity, and then taking a picture. David talks about picking the low-hanging fruit, that’s your first image. But is there an image within the image. Pick the low hanging fruit and then create more images before you move on. Great advise. Great book.
Light, Gesture & Color
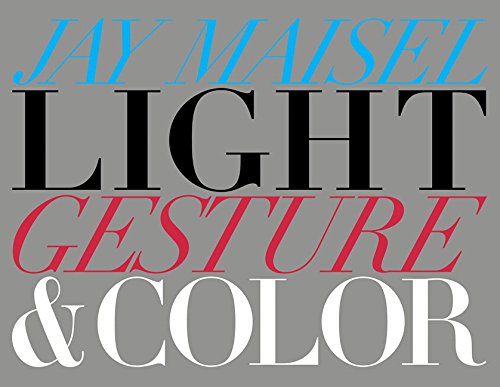 Jay Maisel
Jay Maisel is another photographer I’ve had the pleasure of meeting. In his first book, he shares what he’s learned from a lifetime behind the lens. Jay writes about what he considers to be the three most important aspects of street photography: Light gesture, and color. This is another book about seeing. It’s about plucking the extraordinary from the ordinary. At Photoshop World, Jay told a story about his friends asking him what he’d shot that day. His answer was the arrow in the FedEx symbol. His friends laughed and said there was no arrow in the FedEx symbol. Jay showed them a picture that proved them wrong.
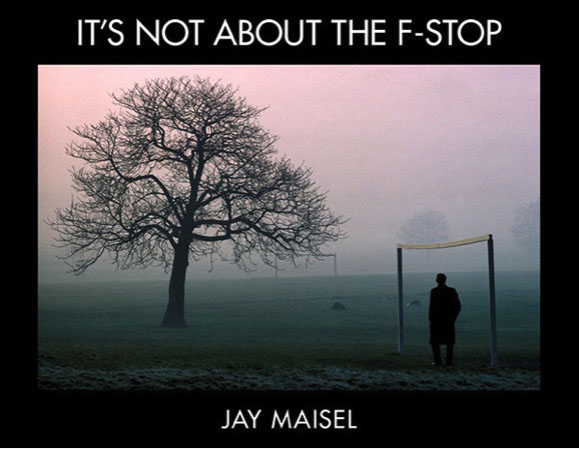 It’s Not About the F-Stop
Jay Maisel
Jay is a great photographer who shares his experience in this book. Jay’s second book is another tome that deserves space on a coffee table, and it deserves more than one read. Jay teaches you how to see as a photographer.
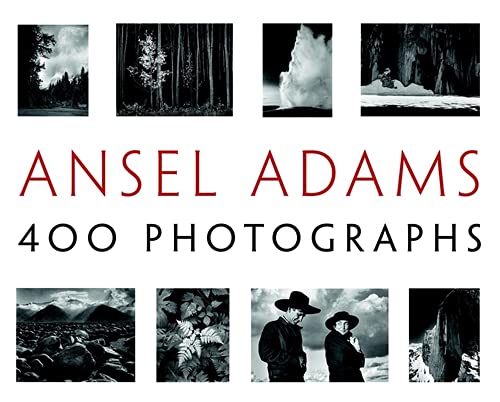 400 Photographs
Ansel Adams
This is a stunning book of black and white images created by a master landscape photographer. The book is filled with photographs. Under each photograph is a caption. ‘nuff said. Great book.
Those are some of my favorite books on photography. Leave a comment and tell me which photography book is your favorite.
The Decisive Moment
Henri Cartier-Bresson waxed poetic about the decisive moment. The decisive moment is that split second of action that defines the situation. If you capture the decisive moment, you create a compelling image. The decisive moment is not luck. And it is more than being in the right place at the right time. To capture the decisive moment, you have to be alert, or in the moment. When you see action unfolding, you use instinct, and luck to capture an image at the decisive moment. Granted it’s easier in this day and age with cameras that can capture several frames per second.
But you still need to be prepared. Choose a spot where action will unfold. This might be a street corner when photographing people, or behind a tree when photographing wildlife. Choose the right lens for the situation. In most cases that will be a telephoto lens so you can get close to the action. Then all you have to do is wait, anticipate the decisive moment, and press the shutter button.
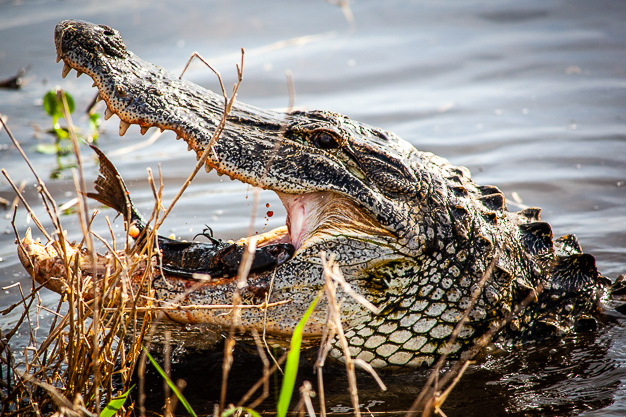
The following image was created with a Tamron 200-500mm zoom lens at f/2.8. Cast net fishermen discarded their unwanted fish, which created a feeding frenzy. I waited till this brute clambered up the bank and opened his gaping mouth.
Recent Comments