Cropping Creatively in Lightroom
When a photographer creates an image, his goal is to tell a story. You tell a story by capturing images of the things you love . When you create an image, you compose the image in such a manner that you direct your viewers to a focal point, the focal point that caused you to stop and create the image. However, sometimes even the best laid plans run amuck and you need to crop the image to remove extraneous objects that distract your viewers’ attention from the focal point. Wouldn’t it be wonderful if you could crop creatively using a rule of composition? You can in Lightroom Classic. In the following video, photographer Doug Sahlin shows you how.
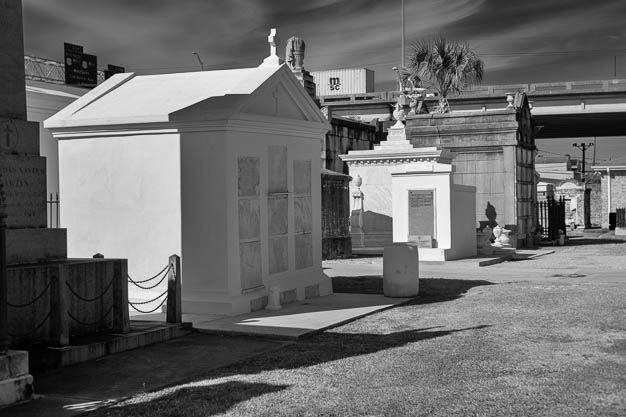
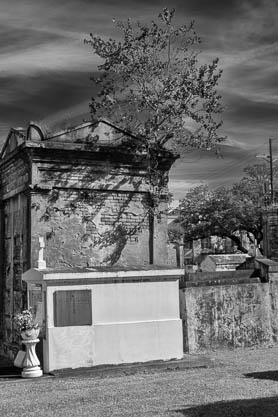
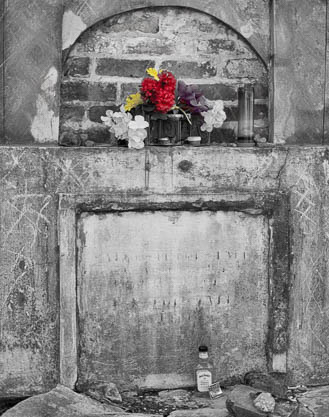
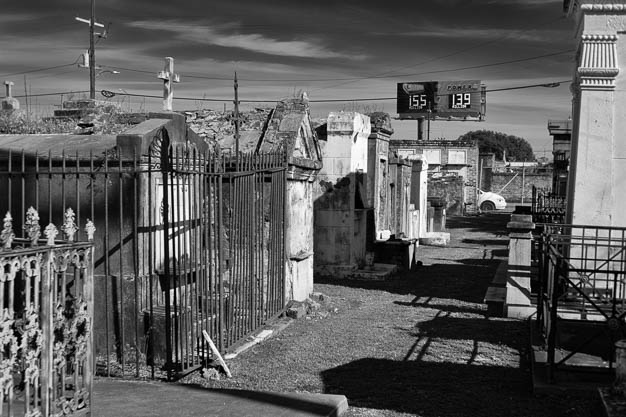
St. Louis Cemetery #2
Visited New Orleans just before Thanksgiving. Created some photos in the St. Louis Cemetery #2. Converted most of the images to black and white using Silver Efex Pro 2. Added a bit of selective color into some of the images.


Beach Yoga
Haven’t been to beach yoga in a long time, but this morning I did the next best thing and photographed Elin Larsen leading a very enthusiastic bunch of beach yogis.
Create a Slideshow in Adobe Photoshop Lightroom
In this video tutorial, I show you how to create a PDF slideshow in Adobe Photoshop Lightroom.
Death of a Drobo
When you’re dealing with a mechanical device, failure is inevitable. It’s a matter of when it will fail, not if. And when will be at the most inopportune moment.
In the case of a hard drive packed with your images, failure without a backup is disastrous. The Drobo I used to store all of my old images went belly up. And it went with little or no warning. Fortunately I had a backup. I was looking for a specific image and noticed several images in the folder were corrupt. I looked in other folders and noticed lots of corrupt files. Apparently the Drobo had been in its death throes for some time. And my system was running bog slow, a nasty side effect of the dying Drobo. Then it just stopped.
Due to the fact that the Drobo uses a proprietary system for redundancy, the only recourse would have been to buy another Drobo to read the disks, which were probably all corrupt. Due to the cost of a new Drobo, that was not an option. But I had enough in reserve to buy a 5 TB LaCie external drive. And fortunately, I had backups of every folder on the drive, and I had all my Lightroom catalogs stored on another drive as well. So recovery without losing any of my precious images was possible.
The first thing I did was copy the backed-up images to the new drive. In Lightroom, I loaded the catalog for each year. Of course Lightroom could not find the photos because the Drobo was no longer connected to the system.
But the folder structure of the backed-up drive was identical to what was on the Drobo. All I needed to do was select the root folder on the Drobo, and show Lightroom where it currently resided. In a few seconds, Lightroom knew where all the images were and the restoration was complete.
Long story short, back up your image files frequently. Best practice is to create two backups, one copy in your home for easy access, and one copy in an external location in case a disaster like a hurricane or flood should affect your home and destroy the original and the backup.
Choosing the Right Shutter Speed for Digital Video
If you’re creating video with your digital SLR, choose an ISO and aperture that gives you a shutter speed of 1/50th of a second if you capture video with a frame rate of 24 fps (frames per second), or 1/125th of a second if you capture video with a frame rate of 60 fps. These shutter speeds are double the video frame rate, which results in pleasing video with a film look. If you choose a faster shutter speed there is not enough motion blur for a smooth transition from one frame to the next, which results in choppy video.
The aperture you choose determines the depth of field, which is the area in front of and behind your subject matter that is in sharp focus. If you’re creating a talking head video, a large aperture is just fine. However, if you’re capturing video of a majestic landscape, you want a large depth of field, which requires a small aperture.
If you’re capturing video in bright light, and require a large aperture, the shutter speed will probably be faster than the optimum discussed earlier in this blog post. Therefore, you’ll have to use a neutral density filter to cut down the amount of light that reaches the sensor, which also results in a slower shutter speed. It’s a bit of a juggling act, but when you get it right, the results are well worth it. The following video was captured with a Canon EOS 7D and a Canon 24-105 L f/4.0 lens.
Early AM Attitude from Doug Sahlin on Vimeo.


Recent Comments